
Installing Hardwood Floors: A Step-by-Step Guide for Beginners
Few upgrades transform a home as beautifully and timelessly as hardwood flooring. Real wood floors bring warmth, character, and long-term value to any space. Whether you’re renovating a single room or updating your entire home, learning how to install hardwood floors yourself can be a deeply rewarding DIY experience.
While the process does require patience and preparation, homeowners who approach each step carefully can achieve professional-looking results without hiring a contractor. This comprehensive guide walks you through the entire process of installing hardwood floors, from choosing the right materials to handling post-project cleanup.
Why Choose Hardwood Floors?
Hardwood floors have remained a top choice for homeowners for centuries because they combine durability, elegance, and versatility. Unlike carpet or vinyl, hardwood can last for decades with proper care. Its natural grain variations bring uniqueness to every plank, and it blends well with almost any design style.
Some of the top benefits include:
-
Longevity: Quality hardwood flooring can last 50 years or more.
-
Easy maintenance: Sweeping and occasional mopping keep it looking new.
-
Refinishing potential: You can sand and refinish hardwood multiple times to restore its original beauty.
-
Home value: Real wood floors appeal to buyers and can boost resale value.
-
Sustainability: Many modern hardwoods come from responsibly managed forests.
If you’re ready to embark on your first flooring project, preparation is key. Installing hardwood floors successfully starts long before the first plank touches the subfloor.
Step 1: Choose the Right Hardwood Flooring to Install
Your first task is selecting the right type of hardwood for your space. There are two main types: solid hardwood and engineered hardwood.
-
Solid hardwood consists of pure wood planks, typically ¾ inch thick. It’s perfect for rooms above ground level where moisture is minimal.
-
Engineered hardwood has a plywood base with a real wood veneer on top. It’s more stable in varying humidity levels, making it a good choice for basements or humid climates.
When deciding between the two, consider:
-
Thickness and width: Wider planks show more grain patterns, while narrow ones add a traditional look.
-
Wood species: Oak is classic and durable; maple and hickory offer a lighter, more modern feel; walnut provides rich, dark tones.
-
Finish: Prefinished boards save time since they come ready to install. Unfinished wood offers customization through staining.
Measure your room carefully before ordering materials. Add an extra 10% to account for cuts and waste.
Step 2: Prepare Your Space
Preparation can make or break your installation. Start by removing existing flooring materials—whether carpet, laminate, or old tile. Always wear gloves and a dust mask during demolition. Once everything is cleared, ensure the subfloor is clean, level, and dry.
Checklist for subfloor preparation:
-
Sweep and vacuum thoroughly to remove dust and debris.
-
Use a level to check for uneven areas; anything greater than ⅛ inch over six feet should be corrected with leveling compound or sanding.
-
Confirm that the subfloor is dry—moisture can damage hardwood over time.
-
Nail down or screw any loose subfloor sections to prevent squeaking later.
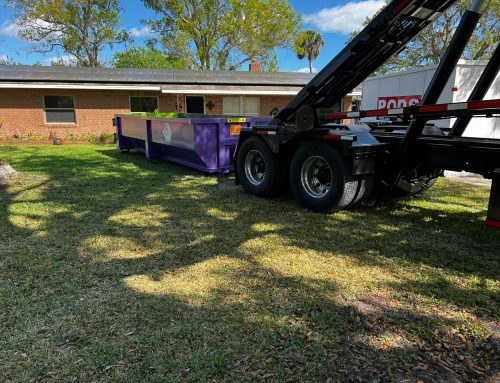
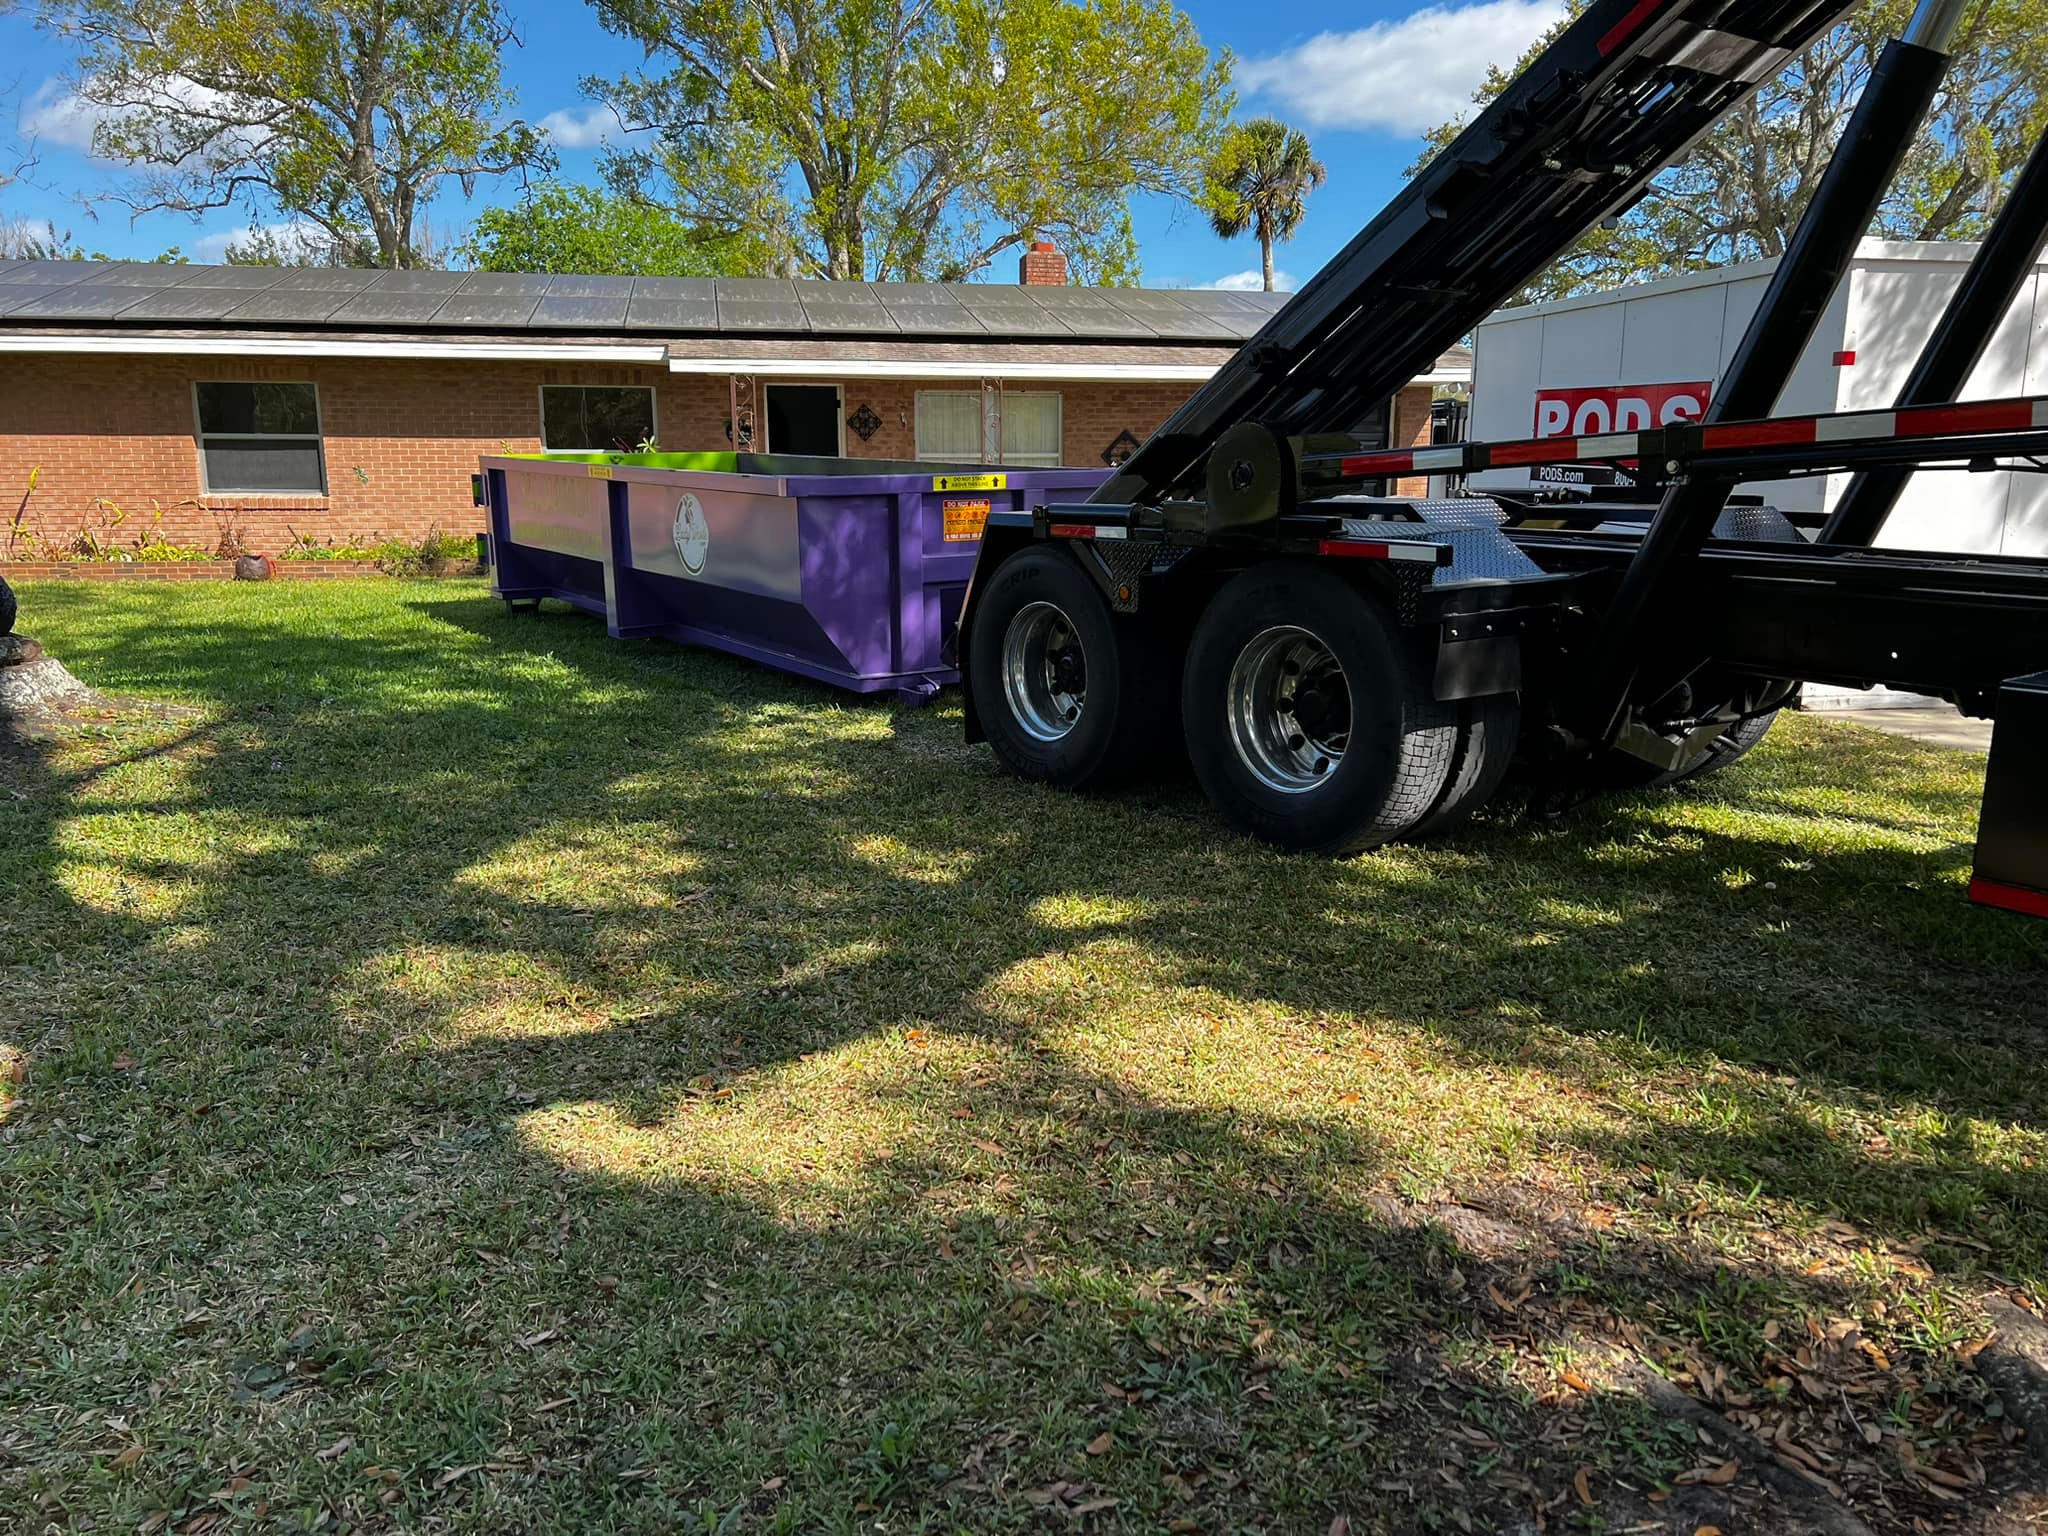
This stage can produce more debris than you might expect, especially if you’re removing old flooring or baseboards. Renting a residential dumpster from Lady Waste can make the cleanup process quick and stress-free. Instead of worrying about multiple trash hauls, you can toss everything—old carpet, underlayment, nails, and packaging—directly into one rental bin. That ensures your workspace stays safe and organized from start to finish.
Step 3: Gather Tools and Materials
Before installing hardwood floors, assemble all necessary tools and supplies so you don’t lose time mid-project. You’ll need:
-
Tape measure and chalk line
-
Pry bar and nail puller
-
Flooring nailer or stapler (for nail-down installations)
-
Flooring adhesive and trowel (for glue-down method)
-
Spacers
-
Rubber mallet
-
Miter saw and jigsaw for cuts
-
Underlayment (for sound and moisture control)
-
Safety glasses, gloves, and knee pads
If your wood is unfinished, you’ll also need sandpaper, stain, and sealant after installation. Having everything within reach helps maintain your momentum through each stage.
Step 4: Acclimate the Wood
One common mistake beginner installers make is skipping wood acclimation. Hardwood reacts to environmental conditions, expanding and contracting with temperature and humidity. To avoid future warping or gaps, allow your flooring to sit in the room where it will be installed for at least 48 to 72 hours.
Simply stack the boxes flat in the room with open ends so air can circulate. Keep the temperature and humidity consistent with normal living conditions. This ensures your wood planks adjust naturally before installation begins.
Step 5: Plan Your Layout
A thoughtful layout gives your hardwood floor that polished, professional appearance. Start by deciding which direction the planks should run. Most experts recommend aligning boards parallel to the longest wall in the room or in the same direction as natural light from windows. In hallways, long planks running lengthwise help elongate the space visually.
Mark a starting line about ½ inch from the wall using a chalk line. That small gap allows for natural wood expansion. Work from the center of the room toward the walls for greater symmetry, especially in open floor plans.
Remember to dry-fit a few rows before you begin nailing or gluing. This lets you visualize how the planks will align, especially if you’re mixing colors or wood patterns.
Step 6: Install the First Row
Starting straight is critical to the success of your project. Any slight misalignment at the beginning will magnify as you move across the room.
-
Lay your first plank along the starting line, groove side facing the wall.
-
Use spacers between the plank and wall to maintain the expansion gap.
-
Secure the first row by face-nailing or gluing the boards directly to the subfloor.
-
Continue connecting additional planks end-to-end, ensuring each joint is snug.
Take your time with this row—it sets the foundation for everything that follows.
Step 7: Continue with Subsequent Rows
After the first row is set, you can move into a consistent rhythm. For solid hardwood, a flooring nailer speeds up the process. Position it at a 45-degree angle so the nails are hidden in the tongue of each board. For engineered wood, you might use staples or adhesive depending on the manufacturer’s recommendations.
-
Stagger joints by at least six inches between rows for visual appeal and strength.
-
Check alignment periodically with your chalk line to stay straight.
-
Use a tapping block and mallet to close gaps gently without damaging the boards.
Cut end boards as needed to fit snugly, leaving space for that all-important expansion gap at each wall.
Step 8: Trim and Fit the Final Row
Fitting the last row can require patience since it often needs precise trimming. Measure carefully, leaving your ½-inch expansion space. Use a jigsaw or table saw to rip the boards to the right width. Because there’s less room to maneuver, these boards are usually secured by face-nailing rather than a flooring nailer.
Once the final row is complete, remove the spacers around the perimeter and prepare for finishing touches.
Step 9: Install Baseboards or Shoe Molding
To complete your project, reinstall your baseboards or add shoe molding to cover the expansion gap. Nail the trim to the wall, not the floor, so the wood can move naturally with humidity changes. Caulk and touch up with paint for a polished look.
If you used unfinished wood, now’s the time to sand, stain, and seal your floors according to your chosen finish. Allow each coat to dry fully before walking on it or placing furniture.
Step 10: Clean Up and Dispose of Waste
Installing hardwood floors can generate a surprising amount of debris—dust, wood scraps, nails, packaging, and possibly pieces of the old flooring. Instead of making dozens of trips to the landfill or overloading curbside bins, schedule a dumpster rental with Lady Waste.
Here’s how a rental can simplify your cleanup:
-
Convenience: Keep a dumpster in your driveway for the duration of the project and toss materials in as you work.
-
Efficiency: One flat-rate rental eliminates multiple waste runs and saves time.
-
Safety: Reduces clutter and tripping hazards that can occur from piles of debris.
-
Eco-friendly disposal: Waste gets handled responsibly according to local regulations.
Whether you’re tackling one room or several, having a designated place for your waste lets you focus on the work itself rather than worrying about cleanup logistics.
Post-Installation Tips and Maintenance
Your new hardwood floor will look stunning right after installation, but keeping it that way requires good maintenance habits. Thankfully, caring for hardwood is straightforward.
Daily care:
-
Sweep or vacuum without a beater bar to remove dirt and grit.
-
Wipe up spills immediately to prevent moisture damage.
Weekly care:
-
Use a damp (not wet) microfiber mop with a hardwood floor cleaner. Avoid harsh chemicals or steam mops.
Long-term care:
-
Refinish the floor every 7–10 years, depending on the traffic.
-
Place rugs in high-traffic areas and felt pads under furniture legs.
-
Maintain consistent indoor humidity to reduce expansion or contraction.
By protecting your investment from scratches and spills, you’ll keep your hardwood looking new for decades.
Common Mistakes Beginners Should Avoid When Installing Hardwood Floors
Learning how to install hardwood flooring comes with a few challenges, but knowing what to watch for can prevent costly errors.
-
Skipping acclimation: Wood that hasn’t adjusted to your home’s humidity can warp later.
-
Ignoring the subfloor condition: Any unevenness will cause visible dips and uneven boards.
-
Not planning the layout: Failing to measure or dry-fit planks may result in awkward seams.
-
Neglecting expansion gaps: Wood needs space to breathe, or it may buckle.
-
Overusing nails or adhesive: More is not better—follow manufacturer guidelines carefully.
Taking your time and double-checking each step makes all the difference between a rushed installation and a professional-looking result.
When to Call for Help
Installing hardwood floors can be an ambitious weekend project for an experienced DIYer. However, if you encounter uneven subfloors, unfamiliar tools, or intricate patterns like herringbone or parquet, hiring a flooring specialist may save time and materials. Even if you handle most of the work, a quick consultation can give you peace of mind before you commit.
For large-scale renovations or multi-room installs, partnering with pros ensures that transitions, alignment, and finishes meet the highest standards.
Final Thoughts: The Reward of Installing Your Own Hardwood Floors
By the time you finish your last plank, you’ll have transformed your home with one of the most desirable surfaces available. Hardwood floors not only elevate your home’s aesthetic but also provide lasting comfort, durability, and value. The satisfaction of looking across your newly installed floor—the product of careful planning and hands-on craftsmanship—is hard to beat.
Whether you chose the rich tones of walnut, the grainy beauty of oak, or the subtle elegance of maple, your new floors are built to impress for generations. And while the process may seem daunting at first, breaking it into steps makes the task entirely approachable, even for beginners.
A little preparation, a few essential tools, and a clear plan are all you need to install hardwood floors successfully. Add in a reliable dumpster rental from Lady Waste to manage demolition debris and waste, and your project will be both smooth and rewarding from start to spotless finish.