10 Tips for an Easy Carpet Removal Project
Old carpet can hold years of dust, odors, and stains. Whether you’re tackling a full home renovation or just freshening up one room, carpet removal can transform your space almost instantly. While it seems like a simple weekend task, peeling back decades of carpet and padding can quickly become messy, time-consuming, and physically demanding without the right plan.
Here’s a detailed guide to help homeowners complete a smooth, efficient, and stress-free carpet removal project—from preparation and safety to cleanup and disposal.
1. Start with a Clear Plan and Realistic Timeline
Before cutting into any carpet, take a few minutes to plan the project. Assess the size of the space, the type of carpet and padding, and whether baseboards or thresholds need to be removed. For an average bedroom or living room, carpet removal typically takes several hours when done by hand.
Create a schedule that includes time for prep, removal, cleanup, and disposal. If you’re removing carpet from multiple rooms, pace yourself and work in stages. This will reduce fatigue and prevent you from being overwhelmed by piles of rolled-up carpet.
A clear plan also helps you estimate how much debris you’ll generate—information that’s essential if you plan to rent a dumpster for disposal later.
2. Gather the Right Tools and Supplies
Having the proper equipment makes all the difference between frustration and efficiency. Here’s what you’ll need for most carpet removal jobs:
-
Utility knife with extra blades
-
Pry bar or flathead screwdriver
-
Pliers
-
Work gloves and knee pads
-
Dust mask and safety goggles
-
Duct tape or twine for bundling carpet
-
Heavy-duty contractor bags
-
A rented dumpster for bulk disposal
Set up your tools before you start cutting or pulling up flooring. A clutter-free workspace will help you move faster and reduce safety hazards.
3. Clear the Room Completely
Remove all furniture, rugs, and decor before beginning carpet removal. Carpets rarely lift smoothly; even small furniture pieces left in the room can become obstacles or cause damage.
Once the space is empty, vacuum the carpet thoroughly. This step may seem unnecessary since you’re discarding it anyway, but vacuuming reduces loose debris and airborne dust, which makes the job cleaner.
If possible, open windows for ventilation and ensure proper lighting—especially if you’re working in a basement or older home where musty odors or mildew are common beneath old carpet padding.
4. Test a Small Section First
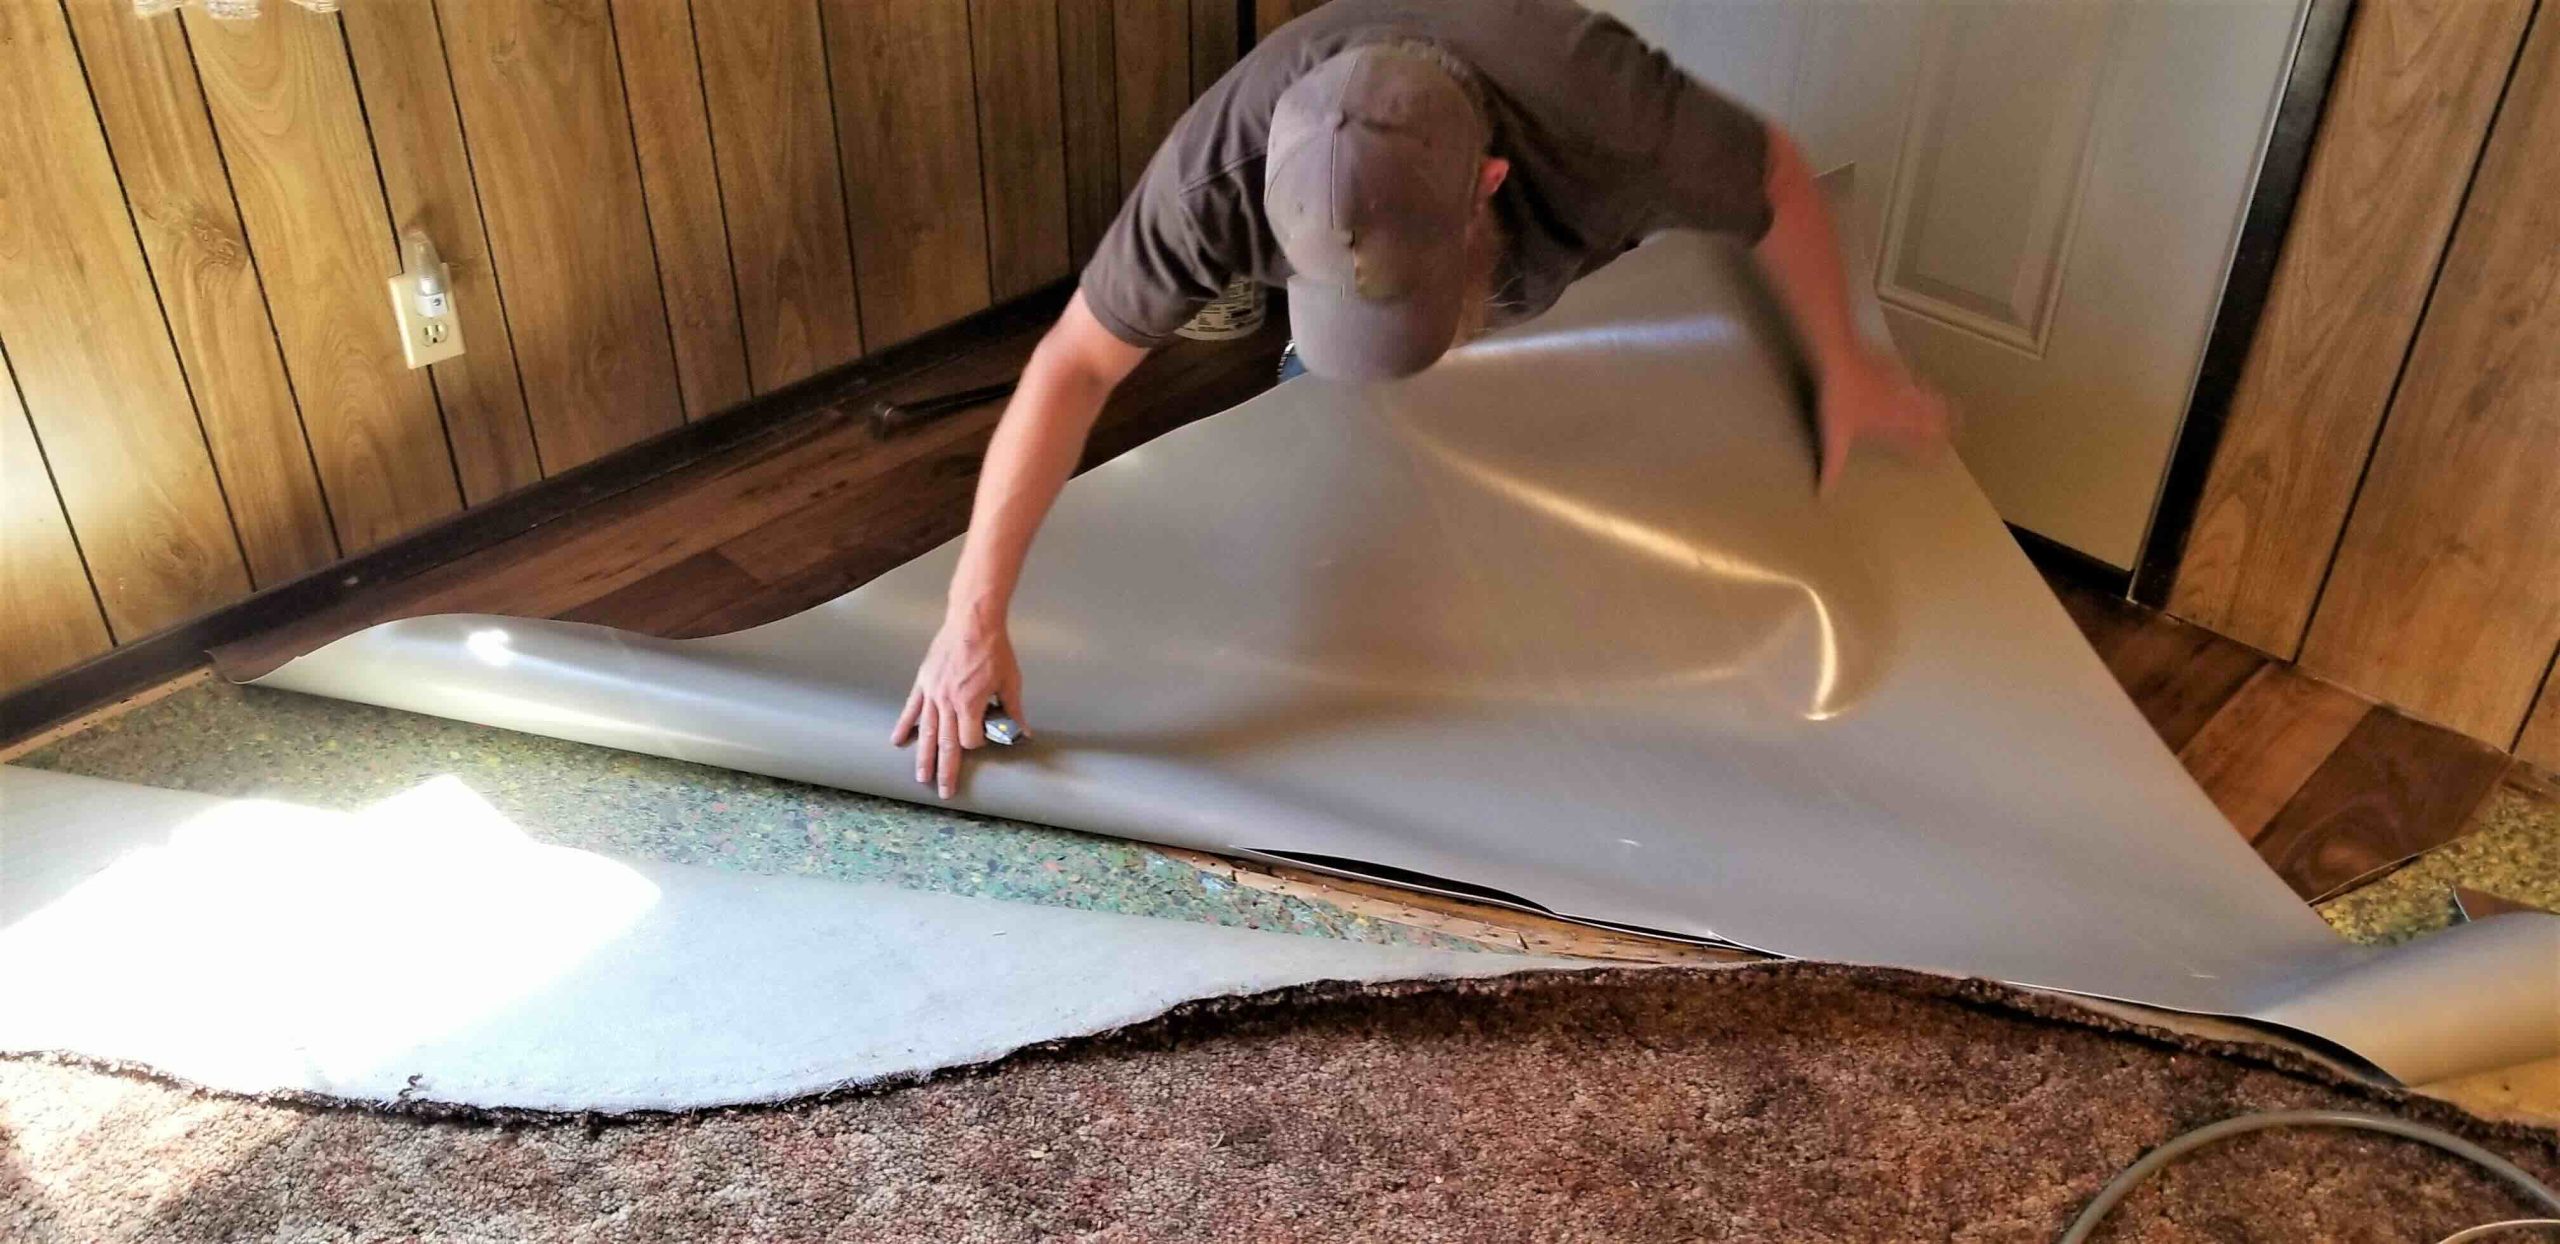
Before diving into the full area, pull up one corner to see how the carpet is installed. Some carpets are held with tack strips, while others are glued to the subfloor. Testing a small section reveals what you’ll be dealing with and helps determine how much force or cutting you’ll need.
If your carpet is glued down, be prepared for more labor-intensive scraping. For tack-strip installations, focus on lifting the corner slowly to avoid splinters or tearing.
Knowing the type of installation ahead of time allows you to adjust your tools and strategy accordingly.
5. Cut Carpet into Manageable Strips
The biggest rookie mistake in carpet removal is trying to drag out one giant piece. Carpeting is surprisingly heavy, and large sections are awkward to maneuver.
Instead, use your utility knife to slice the carpet into strips about 2 to 3 feet wide. Roll each section tightly and secure it with duct tape or twine. Cutting smaller pieces makes removal faster, safer, and easier to carry out of the house.
Pro tip: mark your cuts along a straight edge or directly over floor seams to reduce ragged edges.
6. Remove Carpet Padding Carefully
Once the carpet is gone, you’ll find a layer of foam padding underneath—often stapled or glued to the subfloor. Remove this layer in the same way: cut it into manageable sections, roll, and bundle for disposal.
Padding can retain odor and moisture over time, so wear gloves and a mask when handling it. Check for any signs of mold, mildew, or damage to the subfloor, especially in basements or rooms where spills may have occurred.
If staples remain after pulling up the padding, use pliers or a scraper to clear the surface completely. This ensures a clean foundation for your new flooring.
7. Watch Out for Tack Strips and Staples
Along the edges of the room, metal tack strips secure the carpet. These strips are lined with sharp nails and can cause injuries if you’re not careful.
Use a pry bar to gently lift and remove tack strips without gouging the floor beneath. If you plan to install new carpet or flooring, inspect the subfloor for any cracks or splinters while you’re at it.
Always collect tack strips and sharp debris in a dedicated container or fold them into the old carpet rolls to prevent accidents during transport.
8. Manage Dust and Debris During Carpet Removal
One reality of carpet removal is that it’s a dusty job. Years of dirt, pet dander, and allergens accumulate deep in carpet fibers and padding. As you cut and roll up old carpet, that debris gets stirred into the air.
Here’s how to minimize mess:
-
Keep windows open for airflow.
-
Run an air purifier or use fans to keep air circulating.
-
Sweep frequently as you go.
-
Lay down tarps in hallways to contain dirt tracked between rooms.
Once you’re finished, vacuum the subfloor thoroughly to remove fine dust before installing new flooring.
9. Simplify Cleanup with a Dumpster Rental
Nothing complicates carpet removal like a mountain of bulky, heavy rolls sitting in your driveway. Old carpet can’t easily be compacted into trash bins, and most local waste services limit curbside pickup for large materials.
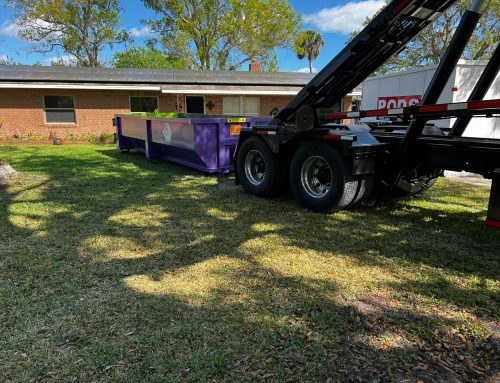
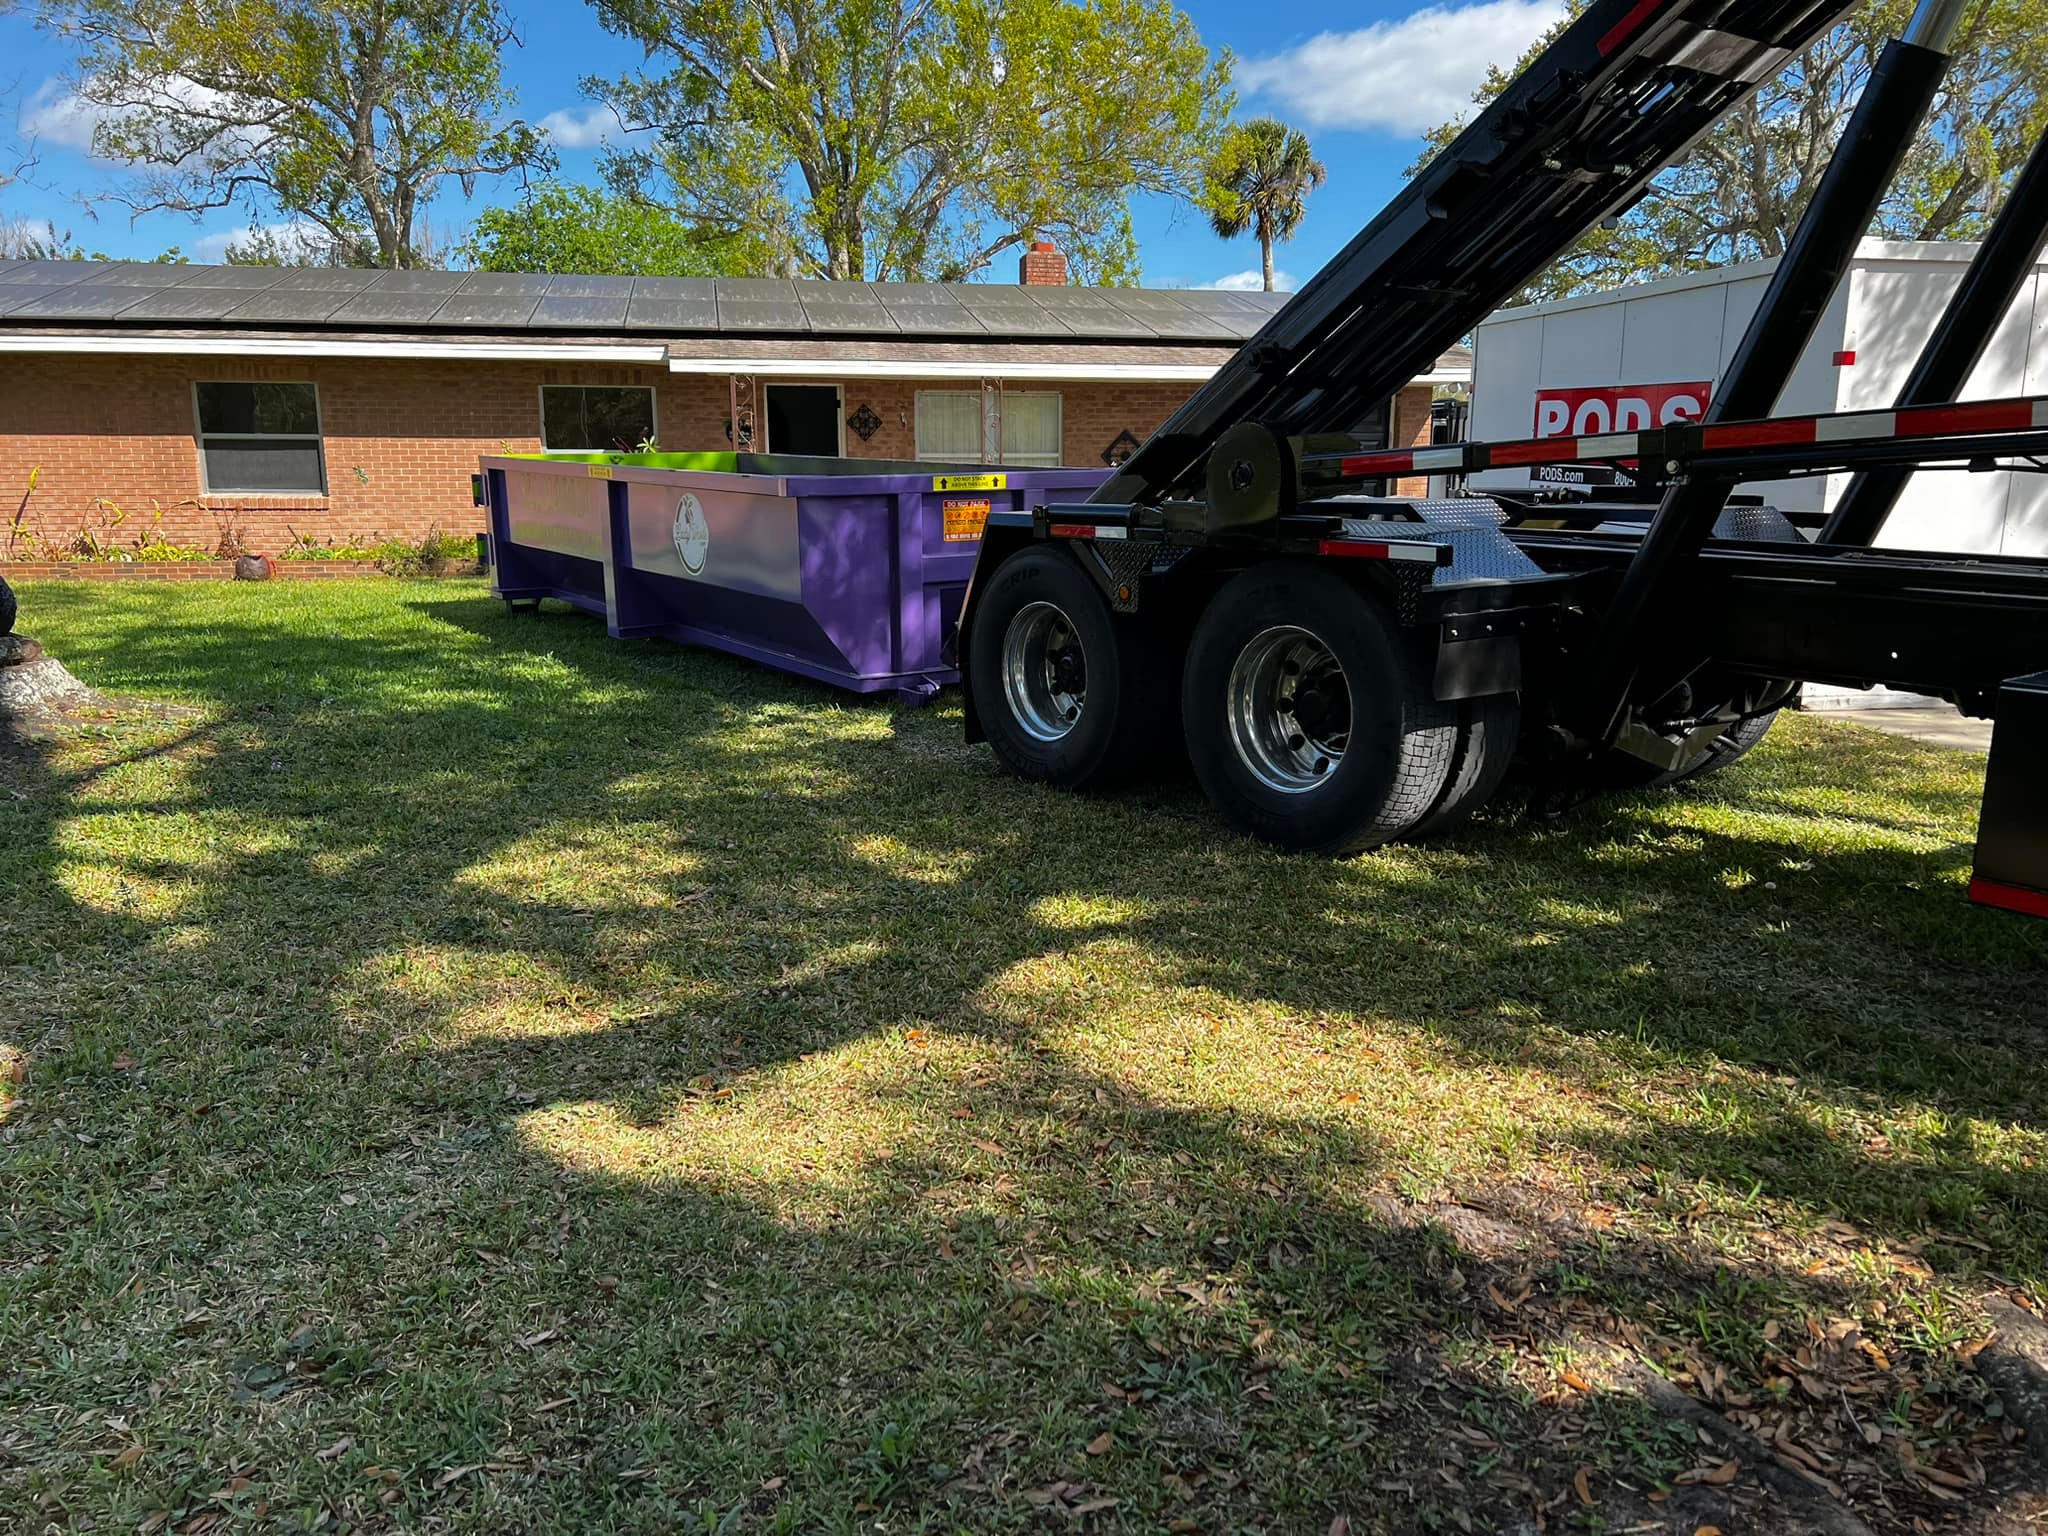
This is where a dumpster rental from Lady Waste truly simplifies the process. Choosing the right size container allows you to dispose of carpet, padding, tack strips, and scraps all in one place. Instead of multiple trips to a landfill or waiting for special bulk pickup days, you can clean as you go.
For homeowners working on several rooms or full-floor replacements, a dumpster offers three big advantages:
-
Convenience: Dump debris directly after removing each section.
-
Efficiency: Keep your project moving without worrying about pileup.
-
Safety: Minimize clutter and avoid tripping hazards from stacked carpet rolls.
Lady Waste offers flexible dumpster sizes for residential cleanouts, so you can match the container to your project scale. This reduces stress and keeps your workspace organized from start to finish.
10. Prepare for What Comes Next
With the carpet fully removed and the room cleaned, it’s time to prepare for new flooring. Inspect the subfloor for damages—look for squeaks, cracks, or raised nails. Addressing these issues now will ensure your new flooring looks and feels solid when installed.
You might also consider sealing or priming the subfloor to eliminate lingering odors or moisture before laying new materials such as hardwood, laminate, or tile.
Finally, once everything is hauled into the dumpster, give the room one last sweep. A clean surface sets the stage for smooth installation and a fresh start for your home.
Bonus Tip: Consider Recycling or Donation Options
If your carpet is relatively new or free from severe stains and odors, you might explore recycling programs or donation centers in your area. Some organizations accept carpet remnants, rugs, or padding for reuse in animal shelters or community projects.
However, most carpet materials aren’t biodegradable, and improper disposal can harm the environment. Using a reliable dumpster service ensures your old carpet is handled according to local waste regulations—some even partner with recycling facilities to repurpose components when possible.
How to Keep Your Carpet Removal Project on Budget
Carpet removal may not seem expensive at first, but costs can add up through equipment purchases, waste disposal fees, and labor time. Here are a few ways to stay on budget:
-
DIY whenever possible. Most carpet removal tasks don’t require professional flooring skills.
-
Rent tools instead of buying. Hardware stores often rent carpet cutters or pry bars for short-term use.
-
Schedule a timed dumpster rental. With Lady Waste, you can coordinate delivery and pickup to match your project timeline, so you only pay for what you need.
-
Work room by room. Spreading out the project helps you manage disposal costs efficiently.
A well-planned approach saves money, effort, and stress throughout your renovation.
Common Carpet Removal Mistakes to Avoid
Even with careful planning, first-time DIYers often run into avoidable issues. Avoid these common pitfalls for a smoother experience:
-
Skipping safety gear. Gloves, masks, and eye protection are non-negotiable when dealing with decades of dust and staples.
-
Cutting too deep. A sharp knife can easily score or damage the subfloor beneath the carpet.
-
Forgetting to label or protect trim. Removing baseboards without labeling them makes reinstallation harder later.
-
Ignoring tack strips. Leaving behind nails or metal strips can cause injury and delay new flooring installation.
-
Delaying cleanup. Carpet debris piles up fast—order your dumpster early so you can remove waste as you go.
Every hour spent on prep and cleanup pays off in efficiency when it’s time to install your new floors.
Frequently Asked Questions About Carpet Removal
FAQ 1: How do I remove old carpet without damaging the floor underneath?
To remove carpet safely, start by cutting it into narrow strips with a utility knife, then gently pull each section from the tack strips around the edges. Use a pry bar or pliers to remove any remaining staples or strips carefully. Vacuum the subfloor afterward to prevent scratches from embedded debris. If the carpet is glued down, loosen adhesive using a scraper or heat gun. Taking your time helps protect both hardwood and subfloor surfaces during carpet removal.
FAQ 2: What’s the easiest way to dispose of old carpet and padding?
Old carpet and padding create bulky waste that rarely fits in curbside bins. The easiest way to handle disposal is by renting a residential dumpster from a local provider like Lady Waste. A dumpster gives you plenty of space for carpet, padding, tack strips, and other renovation debris. Once your project is complete, the company hauls it away—all in one trip. This saves time, limits mess, and keeps your driveway clear while working.
FAQ 3: How long does a typical carpet removal project take for homeowners?
For an average-sized room, carpet removal takes between 3–6 hours depending on installation type, room size, and how much furniture must be moved. Older glued carpets take longer to remove than those attached with tack strips. Planning ahead—by renting a dumpster, prepping your tools, and working in manageable sections—can significantly shorten the timeline for larger projects.
FAQ 4: Can I recycle carpet instead of throwing it away?
In many areas, carpet recycling programs collect old materials for reuse in insulation, padding, or industrial products. However, not all carpets qualify—especially those with moisture damage or heavy wear. If recycling isn’t available, using a Lady Waste dumpster ensures environmentally responsible disposal, as they follow local waste and recycling regulations safely.
Final Thoughts: Make Carpet Removal Simple and Stress-Free
Carpet removal may be dusty, sweaty work, but it doesn’t have to be complicated. With a strategic approach—and the right tools for cutting, rolling, and hauling—you can transform a tired room in just a day or two.
Partnering with a reliable dumpster rental provider like Lady Waste streamlines every step of cleanup, making it easy to focus on what matters most: refreshing your home and preparing for the beautiful new floors ahead. Whether you’re upgrading one bedroom or tackling a full renovation, these carpet removal tips will keep your project running smoothly from start to spotless finish.